Proxmox Virtual Environment (VE) is an open source, special server virtualization platform, which is a Linux distro based on Debian. It is mainly used to create or manage virtual machines and computer clusters, which can be easily done though the system’s web GUI. In this article, we will show how to set up a VM inside Proxmox.
Basic Requirement
To get started, you will have to first get the Proxmox VE OS installed properly on the desired computer/server. You should be able to connect and access the web GUI via the provided IP address (e.g. https://X.X.X.X:8006) in another computer’s browser.
On the other hand, you will need to download the ISO images of the operating system for the virtual machine’s installation. You can choose practically anything OS, depending on your use cases and hardware. For example, TrueNAS CORE, Ubuntu Desktop or Microsoft Windows 10.
Installation Procedures

Once you have logged into the web GUI of the Proxmox server, you should navigate to its local storage from the left side menu (Server View), named “local (pve)”.
- Click the “ISO Images” section to upload the ISO file for the VM’s operating system.
- You can directly upload the files to the server from your personal computer, if you have already downloaded them beforehand.
- Or you can let the server fetch/download the files itself, by choosing the “Download from URL” option.
- Wait up to 15 minutes for the upload to complete.
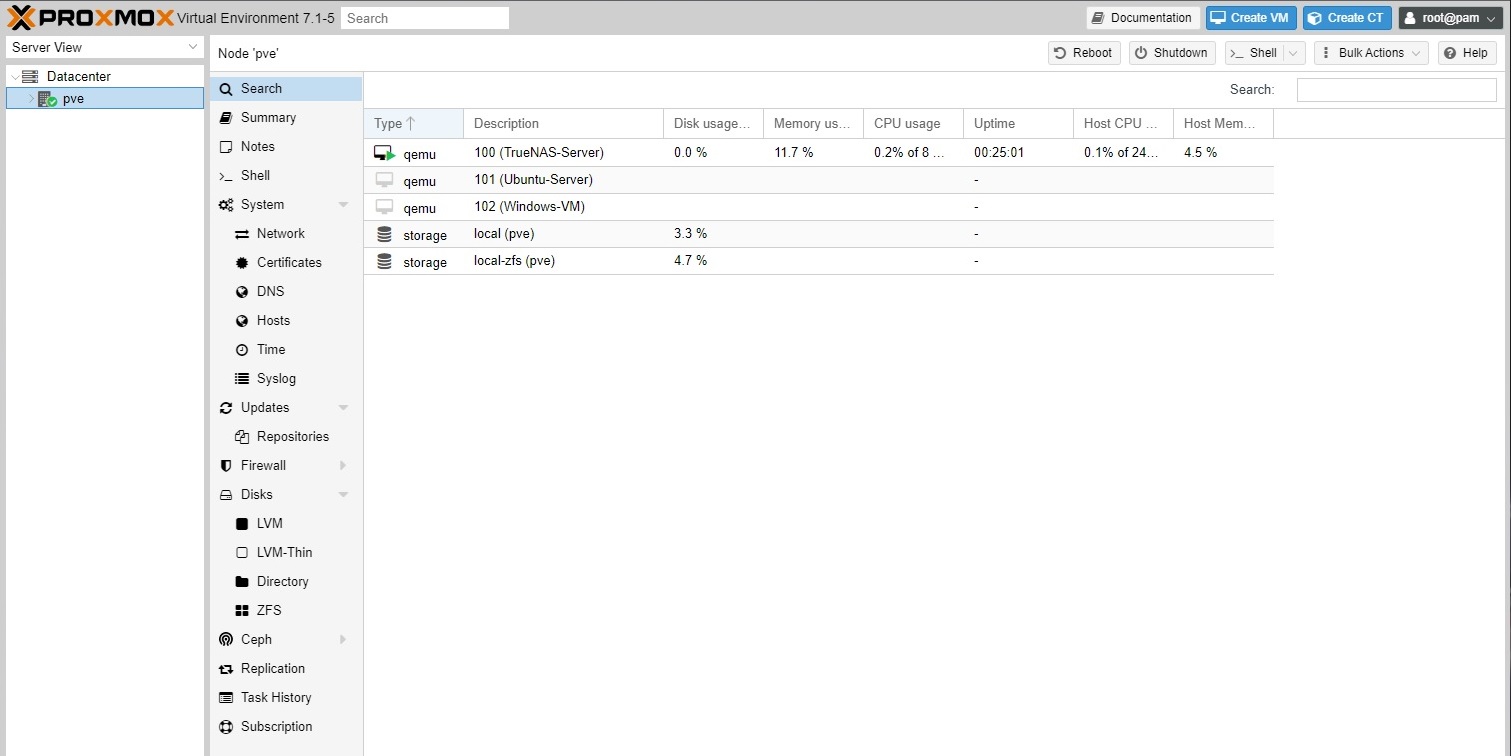
Next, you can click the blue “Create VM” button on the top right corner to start the set up wizard.
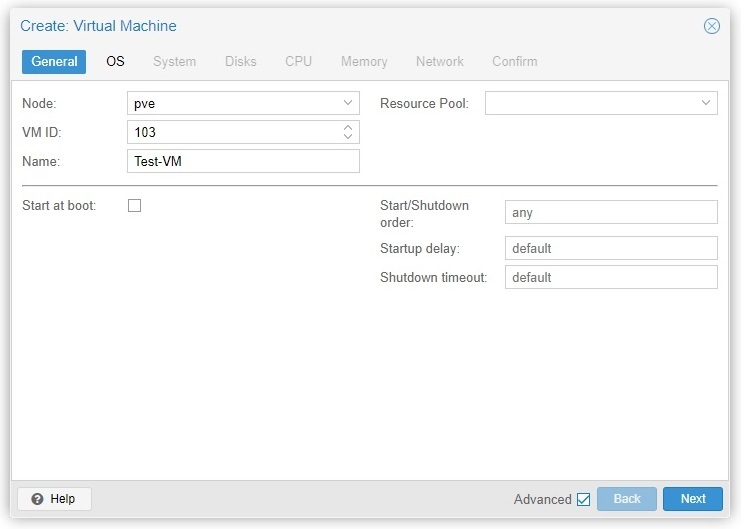
In the General tab, you need to assign a name and a unique VM ID to this particular virtual machine (e.g. VM ID: 103 and Name: Test-VM). Expanding the advanced options allows you to make the VM start at boot, with specific order or delay.
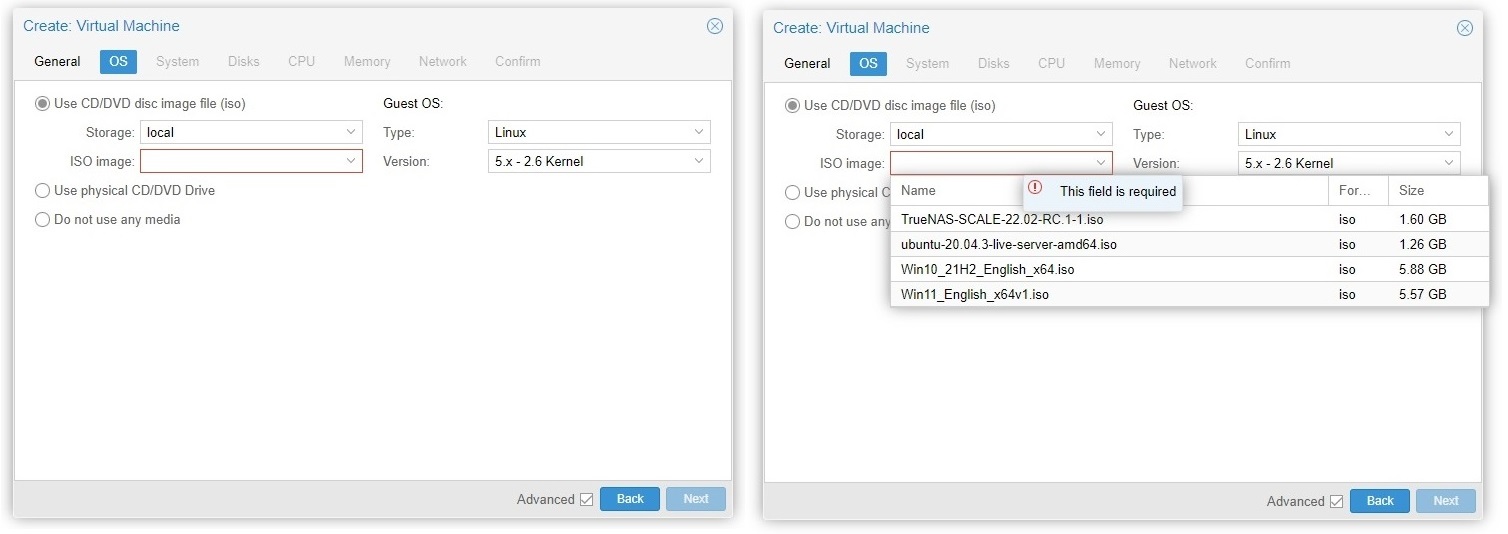
- Tick the “Use CD/DVD disc image file (iso)” options in the OS tab.
- Select the correct uploaded ISO image for the VM.
- Change the Guest OS type to match the chosen ISO image. For example, switch it to Linux if you are trying to install Ubuntu.
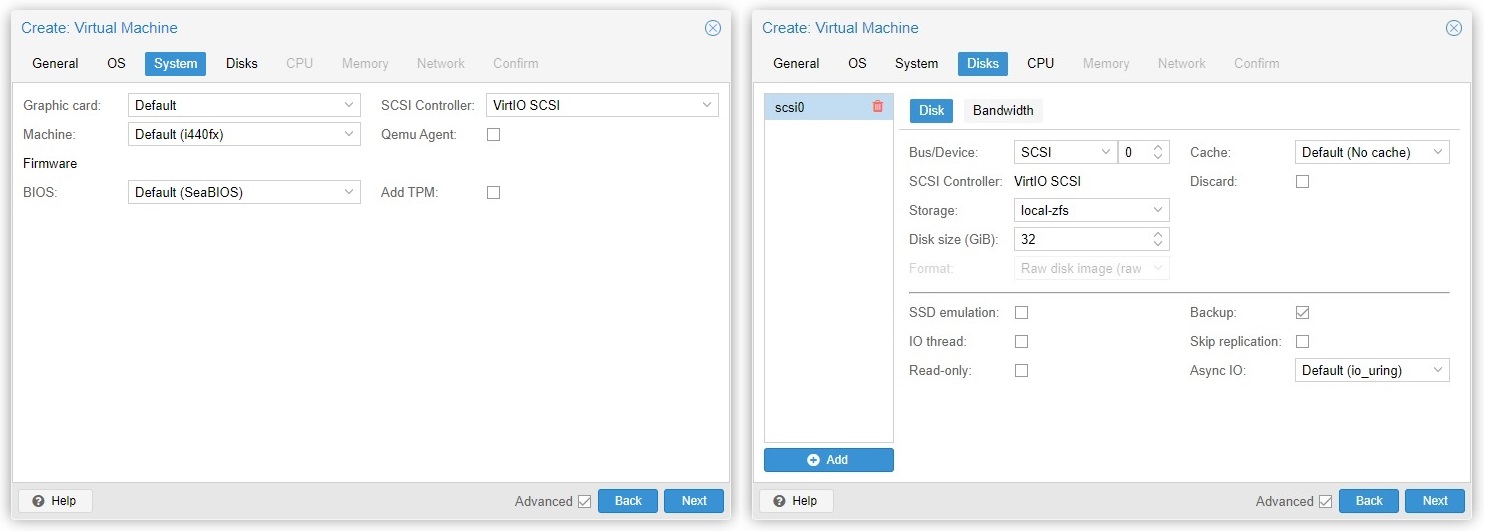
You should leave the settings in the System tab by default, as Proxmox should have modified them based on your Guest OS type.
In the Disks tabs, you can alter the size of the virtual hard disk, as well as its storage location. You can also add more virtual disks to the VM by clicking the “Add” button. For the Bus/Device, SCSI should work fine for most Linux distros, but may need extra drivers for Windows. Therefore, changing it to IDE for Windows is recommended.
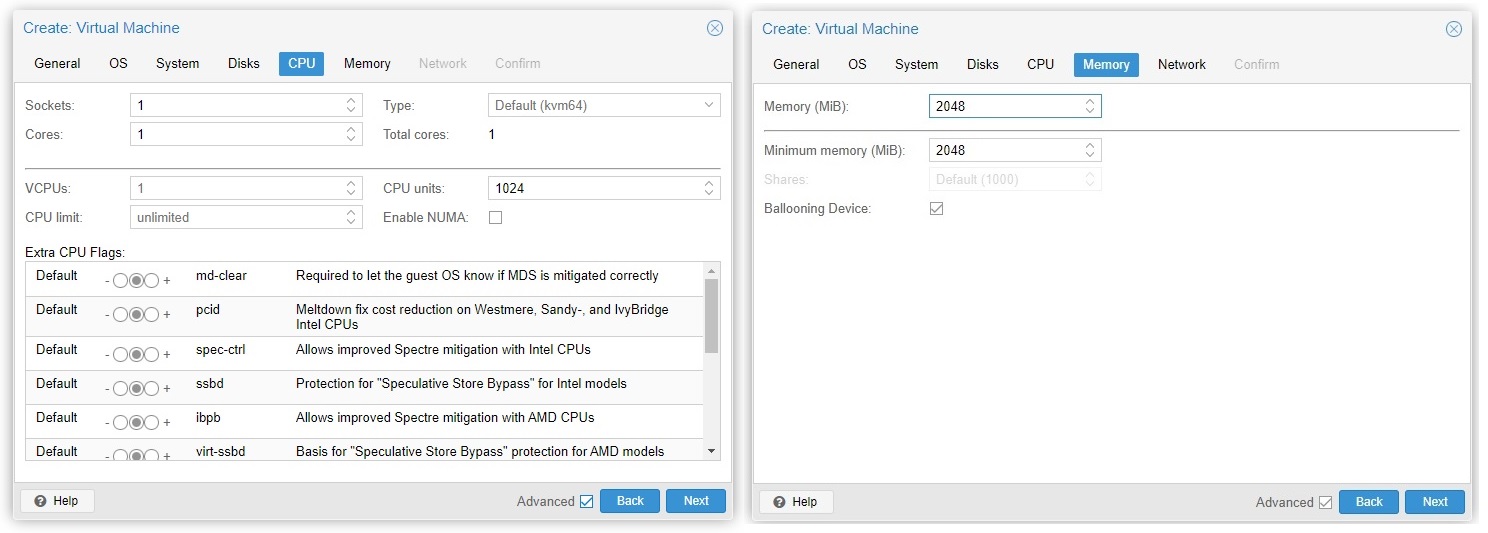
As the name implies, the CPU and RAM tabs are used to adjust the amount of CPU cores and RAM that will be allocated to the VM. The “Ballooning Device” option will allow the Proxmox server and Guest OS to dynamically manage the memory size, decided by the current usage of the VM.
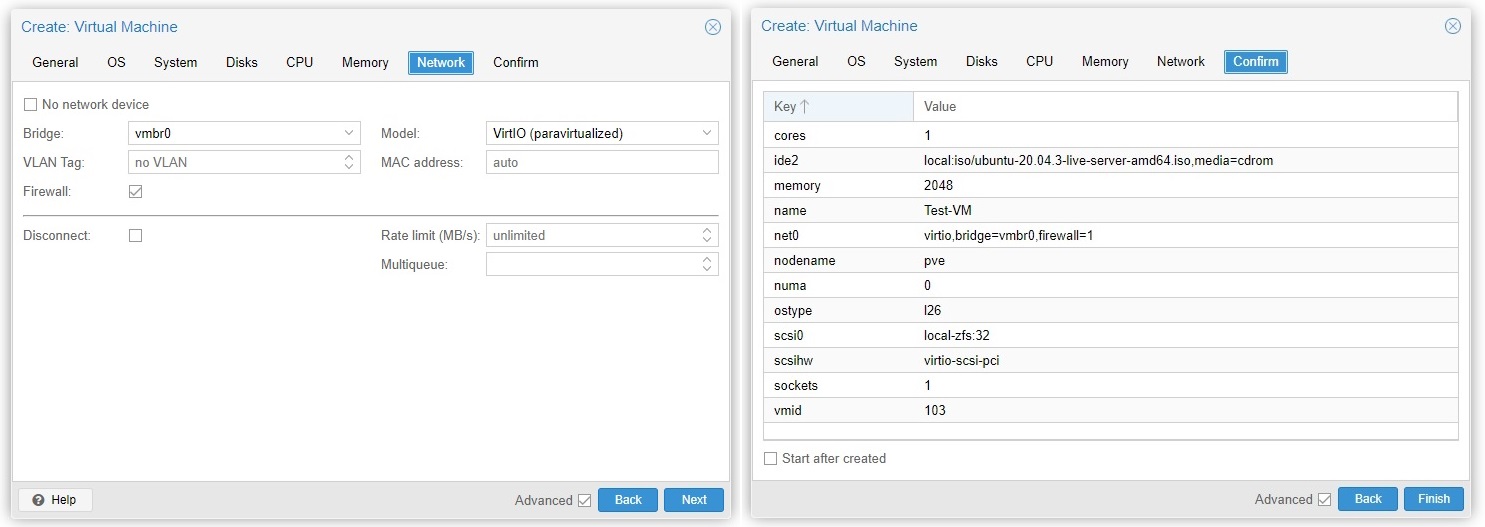
You do not have to change anything in the Network tab, unless you want to assign a different network interface or bridge from the Proxmox server.
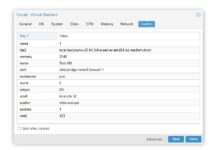
- Finally, a summary list will appear for you to double-check all the settings for the virtual machine.
- Click “Finish” to confirm the creation of the VM.
If successful, the virtual machine will appear on the Server View menu.
- Select the newly-created VM to see more information about it.
- Click the “Start” button on the top right corner.
- Press the “Console” button on the side menu or double-clicking the VM’s name on the Server View menu to open up the graphical output of the virtual machine.
- Follow the on-screen instructions for the OS installation like normal.
Feel free to leave comments below. Share the article if you enjoy reading it. Follow us on Twitter, Facebook, Instagram and Pinterest.
Support this website simply by shopping on Amazon and Newegg. We will receive small kickbacks, if the above affiliate links are used to make any purchases.


