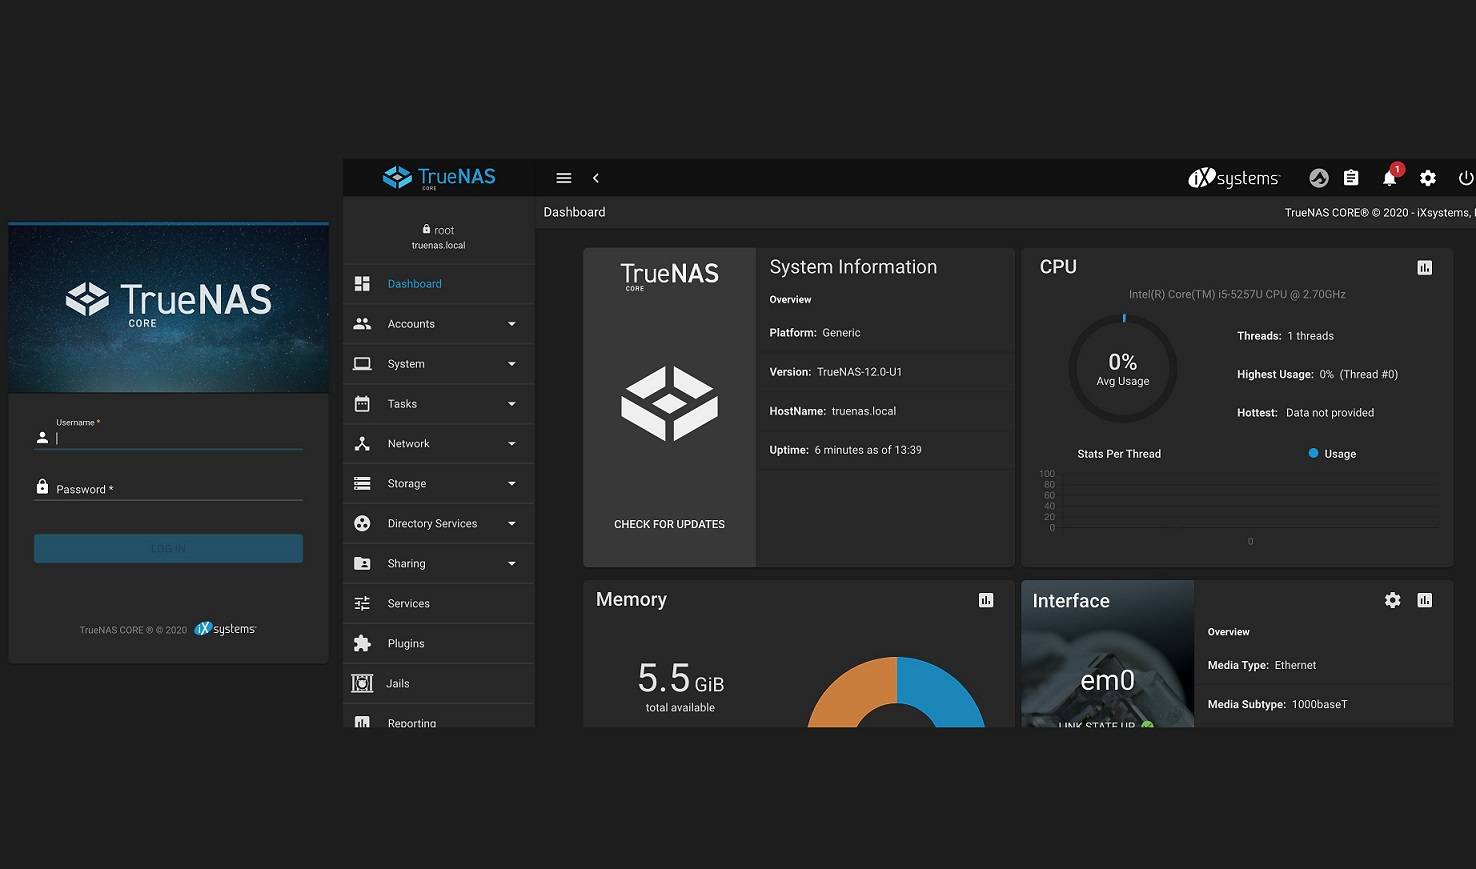
FreeNAS has long been one of the most well-regarded and popular open source operating system for network-attached storage (NAS) machine. In March 2020, iXsystems announced to combine FreeNAS and TrueNAS under the same name. Starting from version 12.0, they will be renamed to TrueNAS CORE and TrueNAS Enterprise.
TrueNAS CORE will continue to be free and open source, with constant update of new features. In this guide, we will teach you how to properly install the OS, and turn your computer into a private home server.
Basic Requirements
The minimum hardware requirements should be identical to FreeNAS 11. At least 8 GB of RAM is necessary to run TrueNAS, and more RAM should be added if you intend to use additional features (like virtual machine). The 8 GB boot drive can be a USB flash drive, HDD or SSD. Make sure your machine has a physical Ethernet port to connect it to the network.
You will have to prepare another USB flash drive to temporarily store the installation media for TrueNAS CORE.
- Download the TrueNAS CORE 12 ISO image from the official website.
- Use Rufus, balenaEtcher or other image flashing software to create a bootable USB
- Ensure the correct USB drive and ISO image are selected
Installation Procedures

To start, you have to press either “DELETE” or “F2” to get into your motherboard BIOS. Change the boot order or directly select the previously-prepared USB as the boot device. After saving the settings and restart, you will be greeted with the TrueNAS Installer. Choose “Install/Upgrade” to continue.

- Select the drive to install the TrueNAS OS on.
- You can select more than one drive, if you want to mirror the boot device.
- You should have at least two different drives to choose from.
- Make sure the correct disk is picked, as it will be re-formatted and erased.
In our case, we only had one disk in the menu, because we were running the installer in a virtual machine.

You have to type in the root password, which will be later used to login to the graphical user interface (GUI).
- Choose “Boot via UEFI”, if you have newer and consumer-grade hardware.
- Choose “Boot via BIOS”, if you have older, legacy or enterprise hardware.
It is recommended to try the option of booting TrueNAS via UEFI first. If it results in failed boot or other errors, you can rerun the installer and boot via BIOS.

- Wait for the installation to complete, which may take up to 30 minutes.
- A message will be prompted to ask you to reboot.
- Remove the USB with the ISO image and restart the machine.
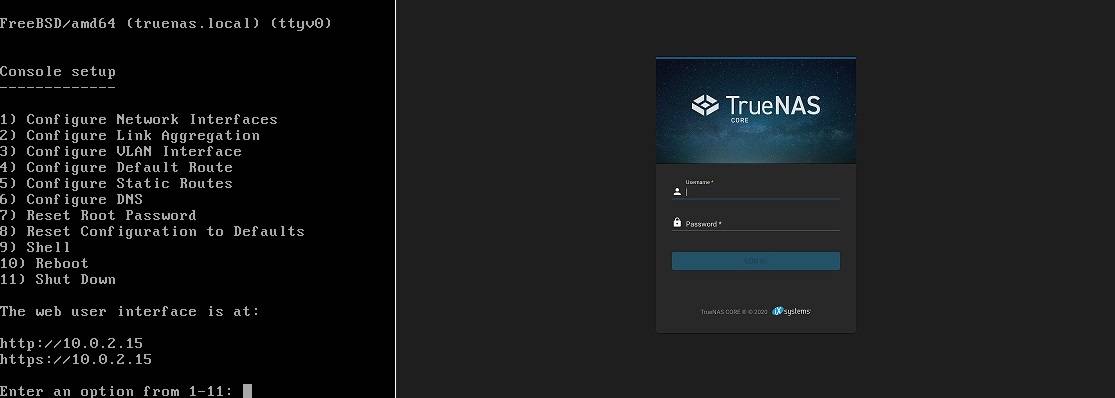
If TrueNAS is successfully installed and booted, you should see the console setup page on the screen. You can configure the settings right here, such as activating network interfaces and changing password. The local IP address at the bottom will be the location of the web interface.
- Enter the IP into the address bar in your web browser on a client computer. (In our case, 10.0.2.15)
- You will see the login page for the web GUI.
- Type in the root user and password
You are now able to create shared folders and virtual machines over your network, using the newly-installed TrueNAS machine.
Feel free to leave comments below, if you have any opinion about this website. Share the website around if you enjoy reading it. Subscribe to our Newsletter or follow our Twitter, Facebook and Instagram.
Support this website simply by shopping in Amazon and Newegg. It will give us small kickbacks, if you use the above affiliate links to make any purchases, which will help us grow.


